 February/March 2026
 December/January 2026
 Nov 01 2025
 Oct 01 2025
 August/September 2025
 Jul 01 2025
 Jun 01 2025
 April/May 2025
 Tool Guide 2025
 February/March 2025
 #328 - December 2024/January 2025
 #327 - November 2024
 #326 - October 2024
 #325 - August-September 2024
 #324 - July 2024
 #323 - June 2024
 #322 - April-May 2024
 #321 - February-March 2024
 #320 - December 2023-January 2024
 #319 - November 2023
 #318 - October 2023
 Tool Guide - Winter 2024
 #317 - August-September 2023
 #316 - July 2023
America’s trusted resource for residential building, remodeling, and home improvement. Convenient digital delivery includes unique bonus features and enhancements: linkable and searchable content, techniques videos, slide shows, tutorials, new products, digital tools, and more.
Out of Print • BUILDING BEYOND THE MAGAZINE’S PAGES
Contributors • THE VOICES OF EXPERIENCE
Fine Homebuilding Magazine
Letters • READER FEEDBACK
Tips & Techniques • HANDS-ON ADVICE FROM READERS IN THE FIELD
Deck-ledger flashing
2024 IRC LEDGER FLASHING METHODS • The IRC’s new ledger flashing section provides prescriptive details for flashing ledgers with common wall assemblies and cladding.
TRIM ROUTER THAT TOPS THEM ALL
Solar with style
Precisely pruned pipe insulation
Modular storage that makes sense
Tape with a clear advantage
A ladder that holds up
Preserve your posts
Sleeker structural screws
Smoke it out
Rock-Solid Framed Floors • What to consider at the drafting table to make sure your next floor system is up to snuff
THE ANATOMY OF A FLOOR SYSTEM
JOIST OPTIONS AT A GLANCE • Understanding the strengths and weaknesses of each joist option is important when choosing what to use on your next floor system. Making joist selections based on the criteria and needs of the project is a key step in ensuring that your floor meets its performance goals.
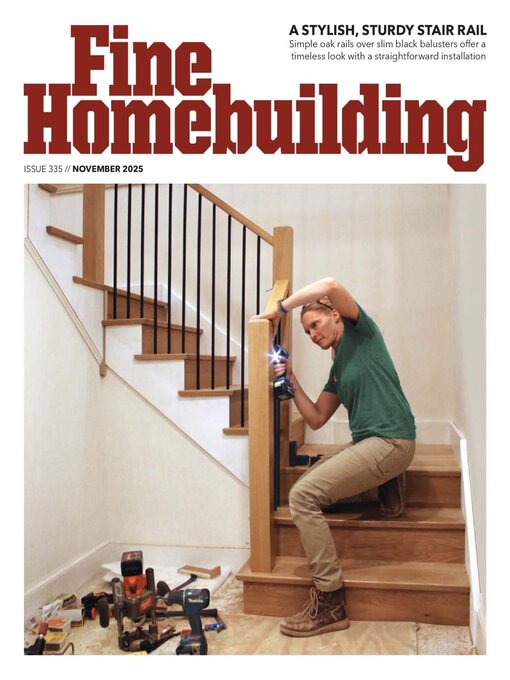
A Stylish, Sturdy Stair Rail • Simple oak rails over slim black balusters offer a timeless look with a straightforward installation
LOCATE THE NEWELS • I start by aligning the newels that connect the railings to the walls because the wall location is fixed. I plan the first newel location so subsequent rails join the newel in straight lines or right angles, depending on the stair layout. I maintain at least 29 in. between the newel and the wall for code compliance.
FASTEN THE NEWELS • Code requires that a guard resist a 200-lb. force pushing outward or downward at any point along its top so that it won’t break free if someone pushes against it. Before installing treads and risers on this project, I added blocking for the newels to be securely fastened to resist those forces.
CUT AND FIT THE HANDRAIL • These handrails are installed 36 in. above the tread nosings. I mark measurements on painter’s tape so the pencil marks don’t show up on the completed rail. Miscuts can be an expensive mistake, so I scribe cuts when possible and double- and triple-check measurements before cutting.
LAY OUT THE BALUSTERS • I lay out the balusters so there’s less than4⅜ in. between them. These balusters are uniform in width along their length, but be sure to measure from the narrowest part of the balusters you’re working with, which will have the widest space between them. Unequal spacing between balusters looks terrible, so I double check the layout before I install anything.
INSTALL THE BALUSTERS • These simple balusters are only sold in 44-in. lengths and must be cut to exact size on-site. However, balusters with more elaborate designs are generally sold in different lengths so that decorative elements can be aligned when the balusters are installed with sloping rails.
Smart Vapor Retarders • Responsive vapor retarders deliver vapor control that adapts with the seasons. They can also be great air barriers if they’re detailed right. Here’s what builders should know.
A PEEK AT PERMEANCE
PORES IN PLAY
RESPONSIVE RETARDER RUNDOWN
ACTING AS AN AIR BARRIER
THE CONNECTED KITCHEN
Kitchen Social • A galley workspace from the 1950s expands into the future—and the dining room—when a wall is removed, and the whole first floor benefits
FUNCTION AND...